TerraVision
Professional cloud architecture diagrams in official AWS, Azure and GCP style, from a description in Claude or ChatGPT or from your Terraform
🌐 terravision.online · 📖 Full documentation →
TerraVision is a free, open-source cloud architecture diagram generator for AWS, Azure and Google Cloud that works in both directions: design to code (describe it to your AI assistant, get the diagram, then the Terraform) and code to diagram (draw what your Terraform deploys).
Ask your AI assistant for a cloud architecture diagram, in plain words, and get the diagram a cloud architect would draw: the official AWS, Azure and GCP icons, with every resource in its VPC, subnet, zone or resource group. From a description, from your Terraform code, or the other way round, with the Terraform written from the diagram. TerraVision runs on your own computer and needs no cloud access.
Draw prod without prod access.
TerraVision draws what your Terraform will deploy, from the code alone. The infrastructure doesn't have to exist yet, and you need no access to any account it deploys to. Live cloud scanners can't do that. See how →
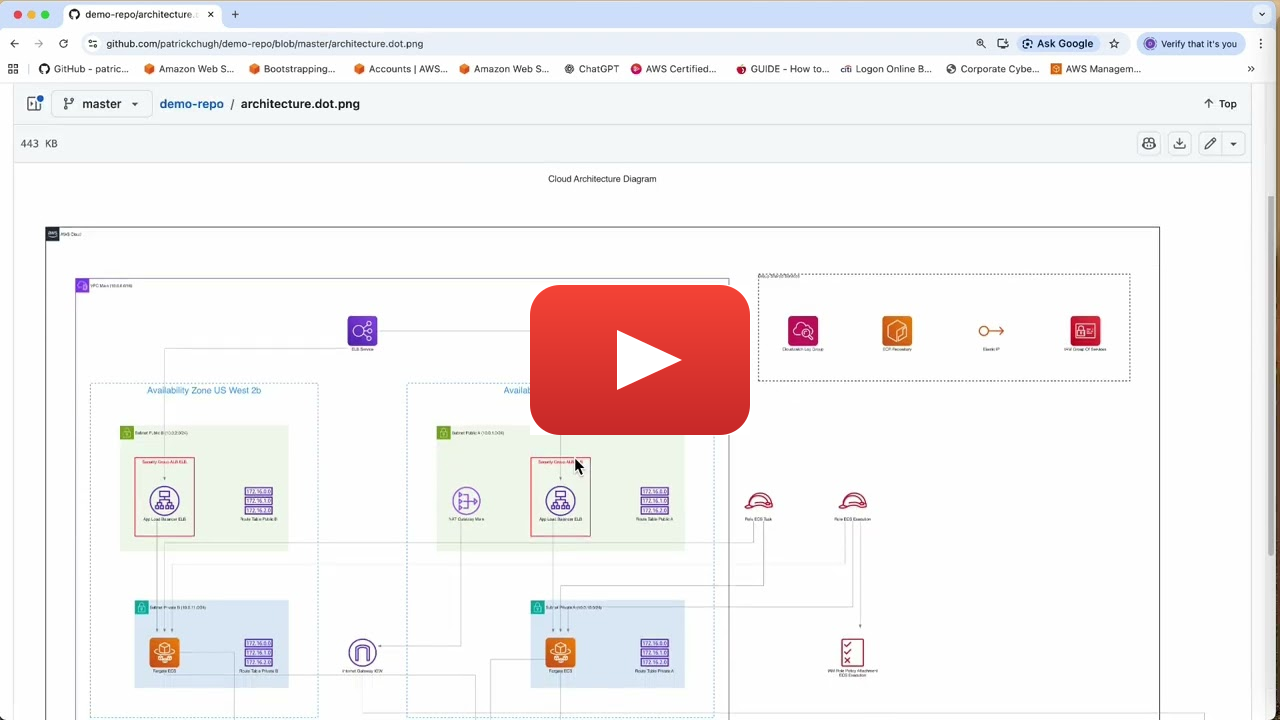
Watch the 90-Second Intro
Gallery
The same three-tier design on each cloud, then a flagship for each. Every example comes with the prompt and the source file: see the full gallery →
More in the gallery: AWS serverless event-driven · AWS data lake · AWS multi-region failover · AWS multi-account network · Azure AKS · Google Cloud data pipeline
Get started in Claude or ChatGPT
TerraVision installs as an extension in Claude Desktop and a plugin in the ChatGPT desktop app, where the diagram appears right in the chat. It also works in Claude Code, Codex CLI, GitHub Copilot, Cursor and any other MCP client.
1. Install the prerequisites (once)
TerraVision needs Graphviz (to draw) and Git. uv runs TerraVision for Claude Code, Codex, Antigravity CLI and other MCP clients; Claude Desktop brings its own on Windows and macOS, so skip it there. Terraform is only needed to draw from Terraform code.
With Homebrew:
brew install graphviz git
brew install uv                        # not needed for Claude Desktop
brew install hashicorp/tap/terraform   # optional: to draw from Terraform code
In PowerShell:
winget install --id Graphviz.Graphviz -e
winget install --id Git.Git -e
winget install --id astral-sh.uv -e    # not needed for Claude Desktop
winget install --id Hashicorp.Terraform -e   # optional: to draw from Terraform code
Then open a new terminal, and restart your AI app, so they see the new programs.
sudo apt install graphviz git
# Ubuntu 26.04 and later only (also Debian 14 "forky"/testing).
# Skip on older releases such as Ubuntu 24.04: graphviz already includes it.
sudo apt install libgvplugin-neato-layout8

curl -LsSf https://astral.sh/uv/install.sh | sh   # Claude Desktop on Linux needs uv pre-installed

# optionally install terraform, to draw from Terraform code: HashiCorp's apt repository
wget -O- https://apt.releases.hashicorp.com/gpg | sudo gpg --dearmor -o /usr/share/keyrings/hashicorp-archive-keyring.gpg
echo "deb [signed-by=/usr/share/keyrings/hashicorp-archive-keyring.gpg] https://apt.releases.hashicorp.com $(lsb_release -cs) main" | sudo tee /etc/apt/sources.list.d/hashicorp.list
sudo apt update && sudo apt install terraform
Other distributions: HashiCorp's install guide.
No admin rights, or no package manager? Each tool can be unpacked into your home folder and added to your PATH: installation guide.
2. Connect your assistant
Claude Desktop: download terravision-<version>.mcpb from the latest release and open it (or drag it into Settings → Extensions). Diagrams appear right in the chat, with buttons to open the image, edit it in draw.io, show it in its folder and see its source.
Claude Code (terminal, VS Code or JetBrains):
claude plugin marketplace add patrickchugh/terravision
claude plugin install terravision-cloud-diagrams@terravision
Then start a new Claude Code session. Diagrams are saved in a diagrams folder in your project. If /mcp shows TerraVision failed to connect on first start (the install can take longer than Claude Code waits), choose Reconnect, or pre-install with uvx --from "terravision[mcp]" terravision --version.
ChatGPT desktop app and OpenAI Codex CLI: in the desktop app, go to Settings, add the marketplace https://github.com/patrickchugh/terravision, then select terravision-cloud-diagrams. For the CLI:
codex plugin marketplace add https://github.com/patrickchugh/terravision
codex plugin add terravision-cloud-diagrams@terravision
Google Antigravity CLI (agy):
agy mcp add terravision -- uvx --from "terravision[mcp]" terravision mcp --output-dir /path/for/diagrams
VS Code with GitHub Copilot, Cursor and other MCP clients: add an MCP server that runs uvx --from "terravision[mcp]" terravision mcp --output-dir <folder for diagrams>. Configuration for each client, plus the npx skills add patrickchugh/terravision skill-only install, is in the setup guide.
3. Ask for a diagram (or code)
The first diagram takes a little longer while TerraVision installs itself. If anything is missing, the assistant says what to install. To check at any time, ask: "Is TerraVision set up correctly?"
The full guide, with more example prompts: Use TerraVision with AI assistants.
Keep diagrams current in CI/CD
Point the TerraVision GitHub Action at your Terraform, and the diagram redraws itself on every change:
- uses: hashicorp/setup-terraform@v3
- uses: patrickchugh/terravision-action@v2
  with:
    source: ./infrastructure
    outfile: docs/architecture
    format: both
A terravision.yml next to the Terraform adds the title, numbered flows and connection labels to every version. GitLab, Jenkins, Azure DevOps and others: CI/CD Integration.
Why TerraVision?
- ✅ Built for AI assistants: extensions and plugins for Claude, ChatGPT, Codex, Copilot and Cursor, with the diagram shown in the chat (guide)
- ✅ Provably accurate: drawn from
terraform plan, so the code is the source of truth and what you see is what deploys - ✅ Draw prod without prod access: the infrastructure need not exist and you need no access to the account it deploys to; one codebase draws dev, staging and prod from their variables files (how)
- ✅ Official icons and conventions: AWS, Azure and GCP icons, with every resource in its VPC, subnet, zone or resource group
- ✅ JSON graph input: describe an architecture in a few lines of JSON, no custom DSL to learn (Graph Format)
- ✅ 100% client-side: runs locally, needs no cloud access, your code never leaves your machine
- ✅ Interactive HTML and editable draw.io output, flow annotations (YAML or AI-generated via Ollama or Bedrock), Terragrunt support, free and open source
How it compares
Already draw by hand? Generate the first version with TerraVision, then polish the exported file in draw.io or Lucidchart. Full comparison: TerraVision vs draw.io, Lucidchart, Eraser, Mermaid and others.
Supported Cloud Providers
Full list: Node types.
Use it from the command line
TerraVision is also a command-line tool, for scripts and for people who prefer to write the graph themselves.
Install
pipx install terravision   # or: uv tool install terravision
                           # or: pip install terravision in a virtual env
You also need Python 3.11+ (uv installs one for you), Graphviz and Git, plus Terraform 1.x (or OpenTofu) when drawing from Terraform code; JSON graphs don't need it. Platform-specific steps, Docker and Nix: Installation Guide.
Diagram from JSON (no Terraform needed)
Each key is <terraform_resource_type>.<name>; each value is what it connects to or contains. That is the whole format.
{
  "tv_aws_users.users": ["aws_cloudfront_distribution.cdn"],
  "aws_cloudfront_distribution.cdn": ["aws_s3_bucket.static_site", "aws_alb.api"],
  "aws_vpc.main": ["aws_subnet.public~1", "aws_subnet.private~1"],
  "aws_subnet.public~1": ["aws_alb.api"],
  "aws_subnet.private~1": ["aws_lambda_function.orders"],
  "aws_alb.api": ["aws_lambda_function.orders"],
  "aws_lambda_function.orders": ["aws_dynamodb_table.orders", "aws_sqs_queue.events"]
}
terravision draw --source architecture.tvg.json --format svg
Works for AWS (aws_*), Azure (azurerm_*) and GCP (google_*). Full spec, schema and Azure and GCP examples: Graph Format.
Diagram from Terraform
terravision draw --source ./path-to-your-terraform --show                    # local directory
terravision draw --source https://github.com/user/repo.git//subfolder --show # public Git repo
terravision draw --source ./path-to-your-terraform --varfile prod.tfvars     # draw prod without prod access
terravision visualise --source ./path-to-your-terraform --show               # interactive HTML
The diagram is derived from terraform plan, so it shows what the code actually deploys: conditionals, count, for_each and modules are resolved. Eraser and friends draw what the AI imagines; TerraVision proves what the code deploys.
Output formats, pre-generated plans, AI annotations, the simplified view and every option (terravision --help): Usage Guide.
Try the interactive demos
- 🟧 AWS demo: Wordpress on ECS Fargate with CloudFront, RDS, EFS
- 🟦 Azure demo: VM scale set with load balancer and VNet
- 🟩 GCP demo: Core GCP networking and compute
Documentation
Everything lives at patrickchugh.github.io/terravision (llms.txt for AI agents).
- Using TerraVision: Installation · Usage Guide · Draw prod without prod access · Annotations · CI/CD · MCP Server · FAQ · Troubleshooting
- Diagram generators: Cloud · AI (description to diagram) · Diagram to Terraform · AWS · Azure · Google Cloud · Terraform · Alternatives compared
- For collaborators: Contributing · Developer Guide · Resource Handler Guide · Constitution
Contributing and support
TerraVision accepts pull requests only from invited collaborators. Bug reports, feature requests and questions are welcome in Issues and Discussions; CONTRIBUTING.md says what to put in a bug report.
Licensed under AGPL-3.0, see LICENSE. Built on Graphviz, Terraform and Terragrunt, with the official AWS, Azure and GCP icon sets.