
Claude Colony
A tmux-based multi-agent orchestration system where multiple Claude Code instances collaborate on software development tasks.
Overview
Claude Colony enables a team of AI agents to work together on complex tasks. It builds on Claude Code's native agent system (.claude/agents/) — create your agents there, then orchestrate them as a team.
Each agent has a unique persona, role, and area of focus. They communicate via a file-based message broker and are visualized in a tmux session.
┌─────────────────────┬─────────────────────────────┐
│                     │      Specialist Agent 1     │
│                     ├─────────────────────────────┤
│   Manager Agent     │      Specialist Agent 2     │
│      (40%)          ├─────────────────────────────┤
│                     │      Specialist Agent 3     │
│                     ├─────────────────────────────┤
│                     │   Shared Context (10%)      │
└─────────────────────┴─────────────────────────────┘
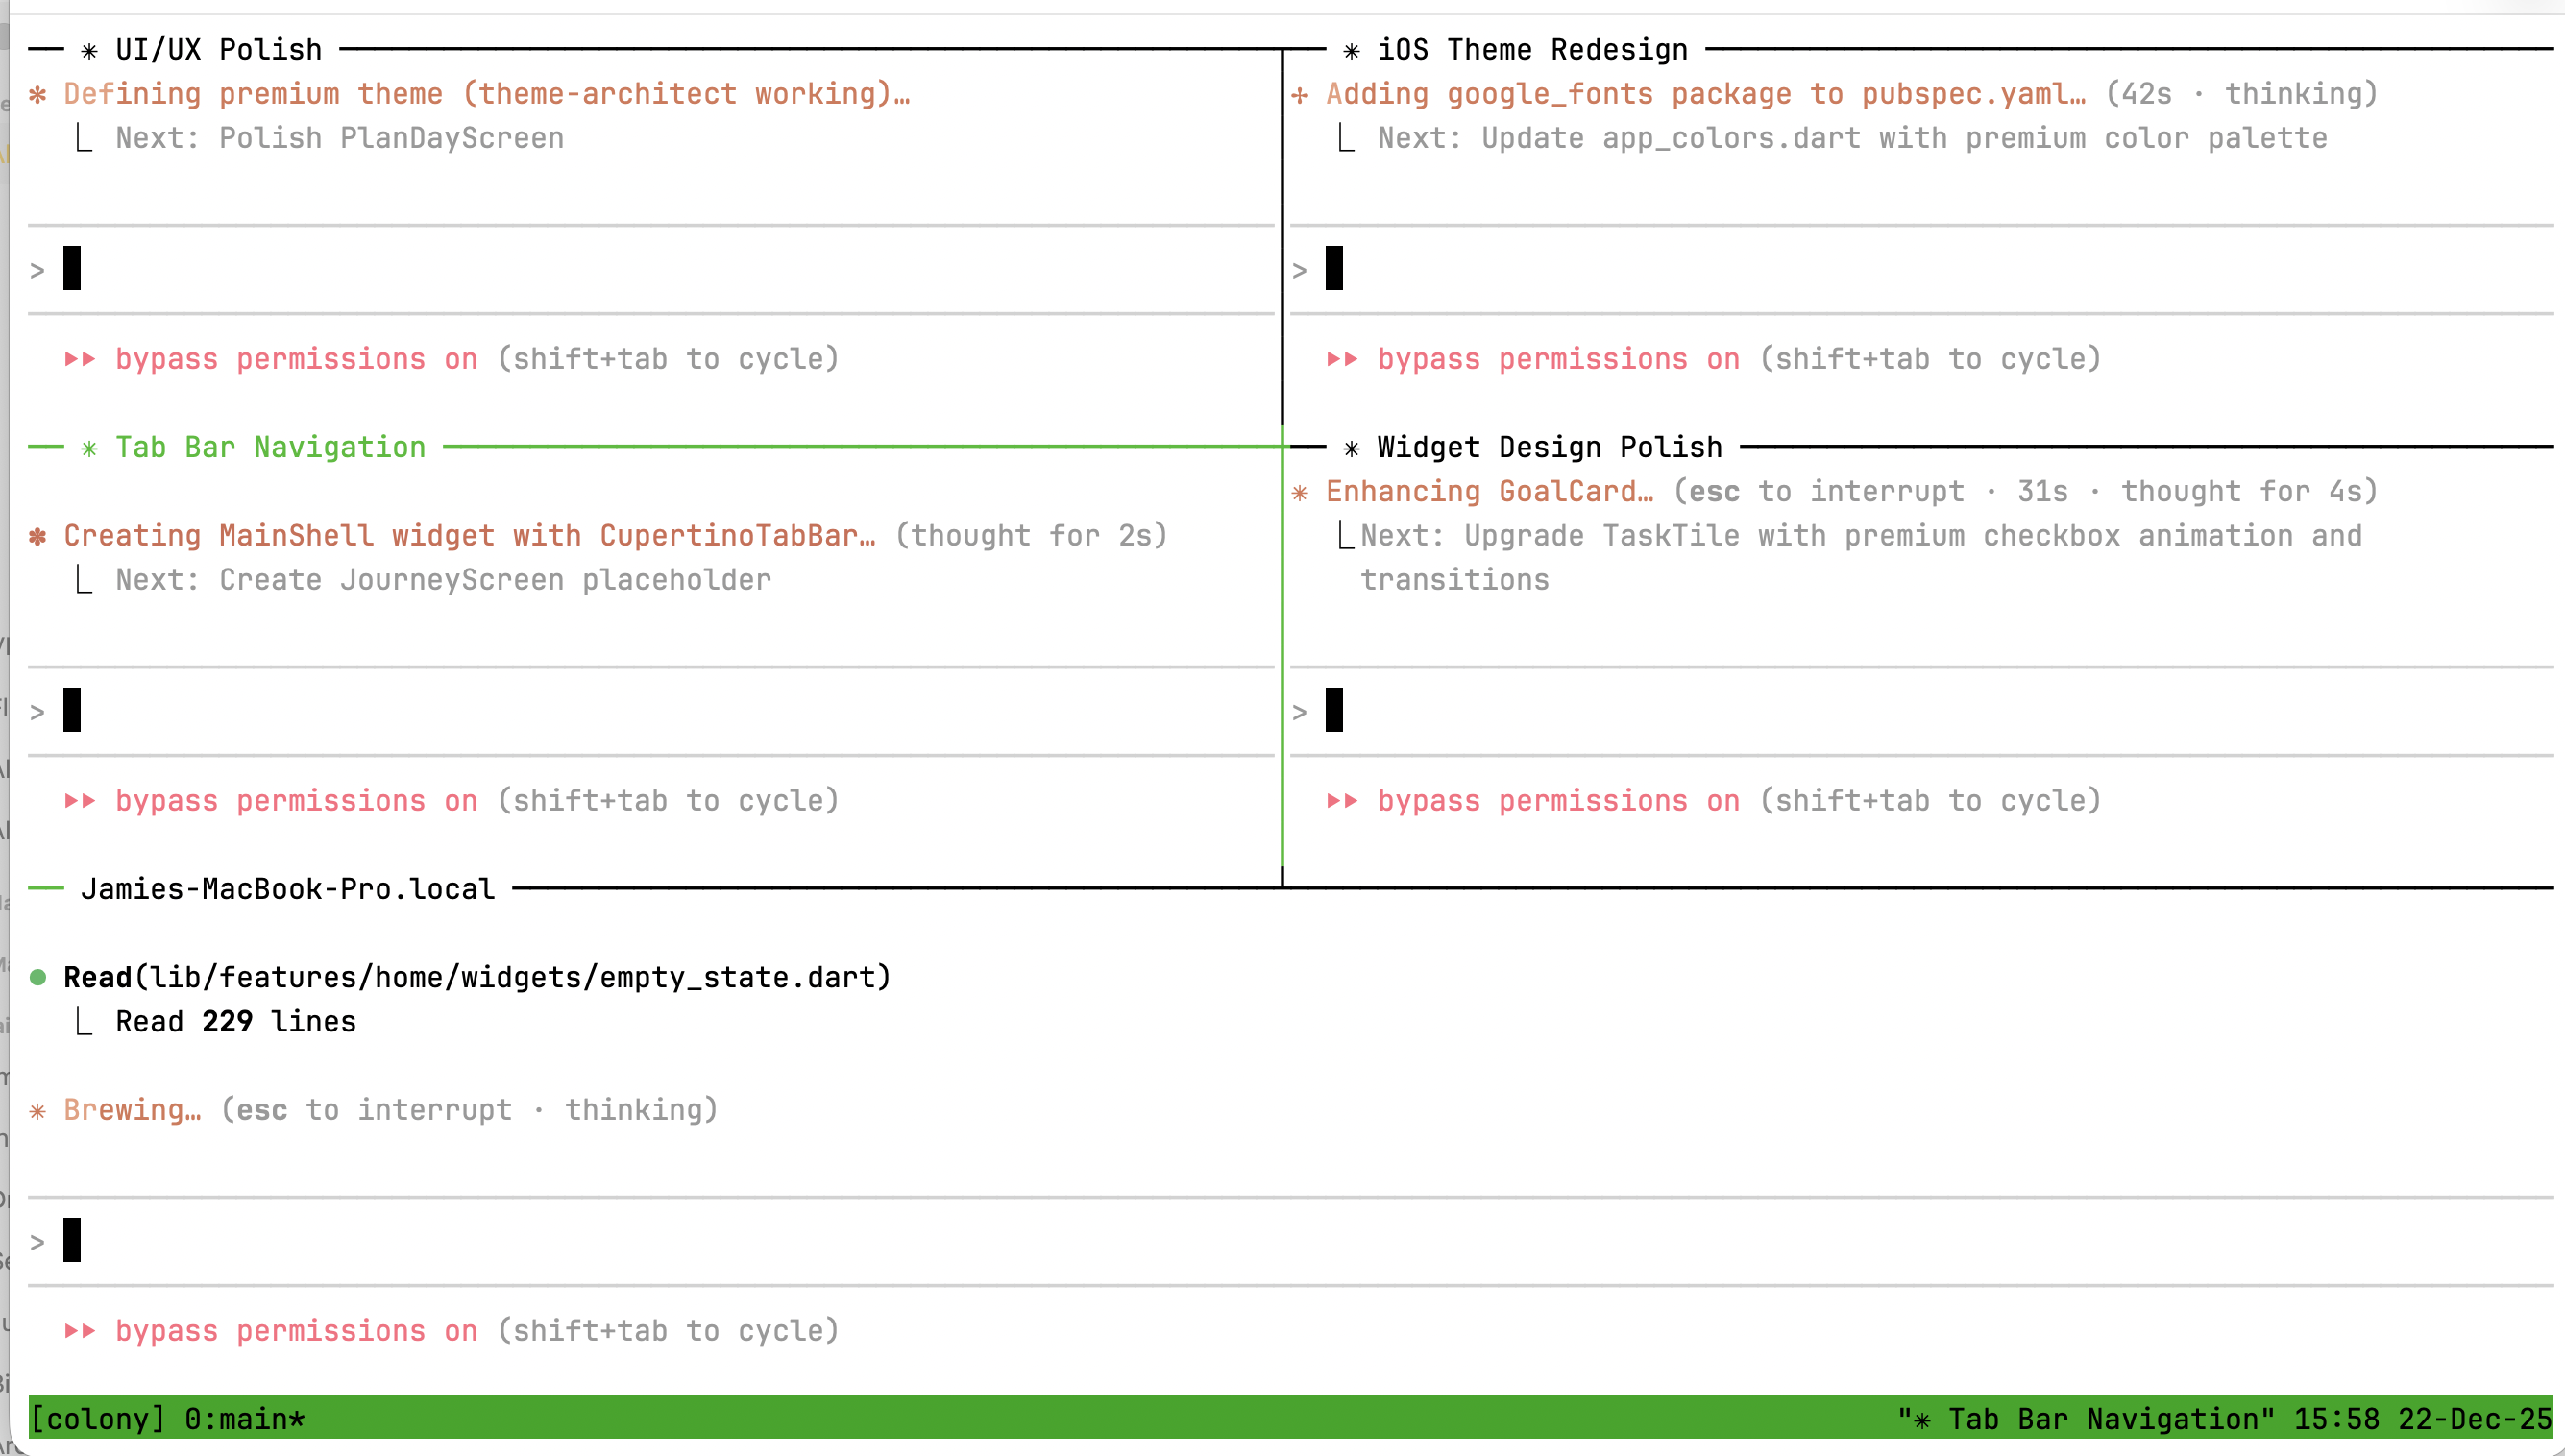
Why Claude Colony?
Note: Because each agent is a full Claude Code instance with unlimited capability, token usage can add up quickly. We recommend using Claude Colony with a Max plan for the best experience.
Prerequisites
- Node.js 18+
- tmux —
brew install tmux(macOS) orapt install tmux(Linux) - Claude Code — installed and authenticated
# Verify Claude Code is working
claude --version
Installation
# Install globally from npm
npm install -g claude-colony

# Or run directly with npx
npx claude-colony --help
From Source
git clone https://github.com/jamiemurphy/claude-colony.git
cd claude-colony
npm install && npm run build && npm link
Quick Start
# Initialize colony in your project
colony init

# Start a colony with a preset
colony start --preset fullstack

# Check status
colony status

# Stop the colony
colony stop
Tip: For best results, create custom agents in
.claude/agents/tailored to your project, then build a preset that uses them withcolony create-team.
CLI Commands
Start Command Options
colony start [options]

Options:
  -p, --preset <name>   Use a preset configuration
  -a, --agents <count>  Number of worker panes (default: 4)
  --no-attach           Don't attach to tmux session
Create Command Options
colony create <name> [options]

Options:
  -d, --description <desc>  Agent description
  -m, --model <model>       Model (sonnet, opus, haiku)
  -t, --tools <tools>       Comma-separated tools
  -g, --global              Create in ~/.claude/agents/
  -f, --force               Overwrite existing
Presets
Built-in presets for common team configurations:
# List all presets
colony presets

# View preset details
colony presets fullstack

# Start with a preset
colony start --preset fullstack
Workflow Examples
Feature Development
colony start --preset fullstack

# Agents coordinate via @mentions:
# @ux:       "I'll design the login flow wireframes"
# @frontend: "Building the form based on UX specs"
# @backend:  "Creating /auth endpoints"
# @devops:   "Setting up CI for the new routes"
API Sprint
colony start --preset api-team

# Parallel development:
# @api-dev builds endpoints while @data-dev designs schemas
# @docs documents as features complete
Debug Session
colony start -p fullstack

# In the shared pane, give context:
# @all: "Users report 500 errors on checkout. @backend investigate
#        the /orders endpoint, @frontend check error handling"
Agents
Claude Colony uses Claude Code's native agent system. The recommended workflow is:
- Create agents in Claude Code using
.claude/agents/*.mdfiles - Use those agents in your colony presets
Creating Agents (Recommended)
Create agents directly in your project's .claude/agents/ directory. These are standard Claude Code agents that work both standalone and in colonies:
---
name: api-designer
description: REST API design specialist
model: sonnet
---

# API Designer

You are an API design specialist focused on RESTful best practices...
Agent Locations
Using Your Agents
# See all available agents (from .claude/agents/ and built-ins)
colony agents

# View agent details
colony agents api-designer

# Create a preset that uses your agents
colony create-team
Quick Agent Creation
If you need a quick agent without writing markdown:
colony create my-agent -d "My custom agent" -m sonnet
This creates a .claude/agents/my-agent.md file you can then customize.
Project Structure
After running colony init:
.colony/
├── config.yaml    # Colony configuration
├── state/         # Session state
├── messages/      # Agent communication
├── agents/        # Agent prompts
├── shared/        # Shared data channels
└── reviews/       # Code reviews
Architecture
Core Components
- MessageBroker - File-based IPC with @mention routing
- SessionManager - Session state persistence
- TmuxManager - Tmux session and pane management
- CompletionDetector - Monitors worker completion
- ColonyMonitor - Real-time status monitoring
- SharedScratchpad - Typed data channels for agent collaboration
- OwnershipRegistry - File ownership tracking
- ReviewManager - Code review workflow
- DependencyGraph - Task dependency tracking
- FileLock - Concurrent access safety
Communication Protocol
Agents communicate using @mentions:
@frontend: Build the login form with validation
@backend: Create the /auth/login endpoint
@all: Team standup in 5 minutes
@manager: I'm blocked on the API schema
Agent Status
- 🟢 Ready — awaiting work
- 🟡 Working — actively processing
- 🔴 Blocked — needs input/help
- ✅ Done — declared completion
Viewing the Colony
Attach to the tmux session:
tmux attach -t colony
Navigation:
Ctrl+BthenArrow Keys- Switch panesCtrl+BthenD- Detach (colony keeps running)
How It Compares
Development
# Install dependencies
npm install

# Build
npm run build

# Run tests
npm test

# Run tests once
npm run test:run

# Type check
npm run typecheck

# Lint
npm run lint

# Full check
npm run check
License
MIT